
This is a how to guide on making your very own kombucha from home! Everything referenced below is using our at-home SCOBY Kit which you can purchase here.
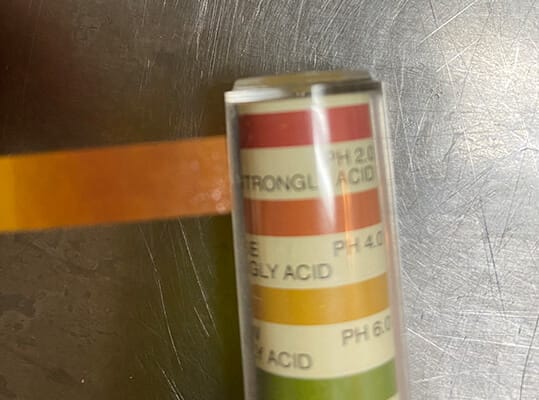
You have determined that the 1st fermentation process is done, the SCOBY is formed, kombucha is approximately 2.7-3.0 PH.
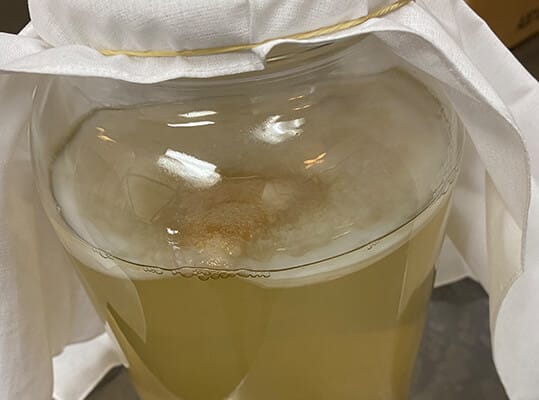
Start another SCOBY Hotel, we do this by removing one of the scobys from the original to a new glass container.

Next, we add 10% (about 2-3 cups) of starter from original to a new glass container.

Start two new batches, in this picture I am starting more green tea in one container and black Oolong tea in another.
Remember each container has 10% starter left for next batch. You can add herbal teas, blend greens, blacks, or white teas- the sky is the limit. We like Roobius or Jasmine the best, yum!

The 2nd fermentation process begins, we add the rest of the 1st fermented kombucha to a glass container, then we will seal with a lid. In this picture below, an FTC growler is being used.

Prepare the contents for the 2nd fermentation. We are looking to add sugar (glucose) to flavor and create bubbles (co2) to the 2nd fermentation batch. Experiment with different flavors- vanilla bean, candied ginger, apples etc…

Add ingredients and kombucha to the 2nd fermentation container. Leave some space at the top for co2 to accumulate. In this picture, I had to dump some out.

Now, we add the lid (cap) to the container, find a warm dark space for second fermentation. **IMPORTANT
release pressure (burp) every couple of days.**
You will know when you concoction is ready when its plenty fizzy when pressure is relieved. Drink up, yum!
